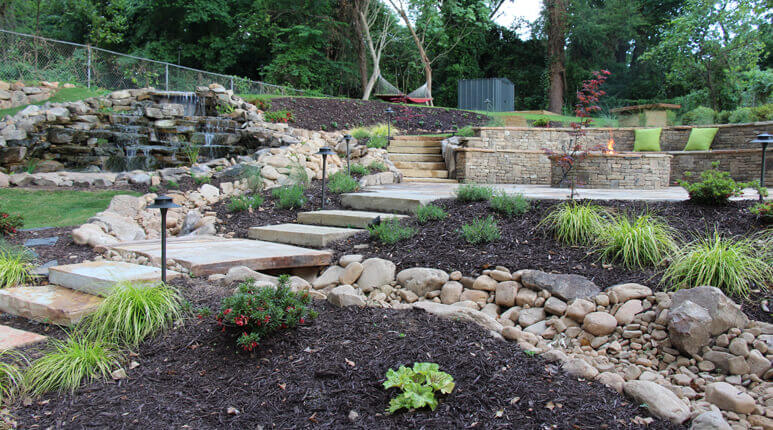
When it comes to dealing with a yard that has both sloped terrain and flat areas, it’s essential to incorporate different elevations to make the landscape look even. This is where the role of a long lasting retaining wall comes in.
Using retaining walls is an accurate and tested way to build terraced gardens, keep the water away from the foundation of houses, and much more. They’re best for adding raised bed designs to outdoor landscape construction and can make every home aesthetically pleasing.
You may have looked at some not-so-sturdy retaining walls that now have crumbled ends or are losing the beautiful finish they used to have. We say that those walls weren’t built to last for long. So, before you make another mistake, here is how you can build a retaining wall correctly.
Types of Materials To Create Stone Retaining Walls
Homeowners usually build retaining walls on their property, such as in the garden area or around the trees as a boundary. It’s also a way to claim ownership of the space. However, several materials, such as bricks, timber, or natural stones, create retaining walls. Below are the main material types:
- Wall Blocks: These blocks have an interlocking mechanism. They get processed in such a manner that they hold the wall together and strengthen the structure of the whole base.
- Natural Stones: The best part of these stones is that they often look natural, so they are best for constructing smaller walls.
- Concrete: Concrete is ideal for the construction of retaining walls. Many backyard renovation companies also prefer them because they are good at enduring extreme flooding. These walls almost surpass any other material for their strong foundation. The landscape contractors can dress concrete walls with various organic and artificial materials.
- Wood: Many homeowners prefer using wood timbers for ideal retaining walls. It also offers a rustic appearance and is best for building smaller walls. But they may not last longer than stones do.
Steps To Build A Lasting Retaining Wall

Step 1: Choose Your Building Blocks Wisely
Consider it first before you plan to lay the foundation for the retaining wall. Although, you can use a variety of building materials. A quick piece of advice is that blocks that can be mortared and fit together are more sturdy and robust.
We recommend using cement blocks, but you can also choose the landscaping blocks or interlocking ones. If you’re constructing a retaining wall for the first time, then using interlocking blocks is an ideal choice.
Cement blocks are also inexpensive, and they are easy to work with. They are best if you live in an area that has a lot of water or rain pressure from flooding.
Step 2: Finalize A Plan That Suits Your Requirements Well
Building a wall is something that requires proper planning with time. Try to understand your landscape area and determine where to place the retaining wall that compliments your outdoor area well. Also, it would be best to examine the height of the wall. Mark the entire bed using stakes if you plan to create a straight wall.
As for the curved wall, you can get help by using rope to outline the shape and a shovel to dig the design cleanly.
One important thing: don’t forget to determine the soil your outdoors has. And take note of natural drainage patterns. If your landscape has a slope, it is best to consider the landscape professionals.
Step 3: Understand and Calculate your Material Needs
It is essential to consider how much material you need to complete the project. If you want to determine the number of blocks, divide the total length of your wall by the length of the retaining blocks. With this strategy, you’ll get the total number of blocks needed for one course.
Understand by an example: if your wall has a height of 10 feet and is inches wide, you’ll need 6×6 inches blocks and 20 blocks to complete one course of the wall. If you plan to have a 2-foot wall and each block has a height of 4 inches, you’ll need to stack six blocks plus one block below the ground level.
So, it is best to understand and calculate how much material will complete the work.
Step 4: Begin Digging and Tamp Down the Dirt
Now, it’s time to start building! Start by digging using a shovel. Afterward, tamp down the dirt with the help of a hand tamper to lay the foundation for your retaining wall. A moment ago, we suggested that knowing the soil you have is where you’ll deal with it. If your outdoors has more clay soil, it will require more retention than sandy soil. When laying a foundation, removing any organic or wet soil is best.
Step 5: Begin the Process of Laying Gravel and building foundation
Spread a layer of gravel across the entire marked landscape area. Tamp everything down clearly, and afterward, use a level to measure that the ground is suitably flat. For wall block use gravel foundation minimum 8 inchs deep and 2ft wide.
Step 6: Start Adding Retaining Wall Blocks
Now, start laying or adding the course of stones in your created area. You should set the first course right, so don’t rush in this process. After placing the first block, ensure it is correctly leveled from both directions, meaning front to back and side to side.
Step 7: Don’t miss out on Installing drainage
After you have completed the first few rows of walls, it’s time to put in the drainage system. You can lay down the landscape fabric behind the wall. And then continue adding more blocks. After setting blocks are completed, fold the landscape fabric cover and cover it completely with soil.
Fill the remaining areas properly using sand or gravel. Avoid using organic or topsoil. Your landscape has a beautiful stone retaining wall design!
The Bottom Line
While the process of constructing a retaining wall can be challenging, but now you know how to build a stone retaining wall. A retaining wall will highlight the aesthetic feel of your outdoor landscape.
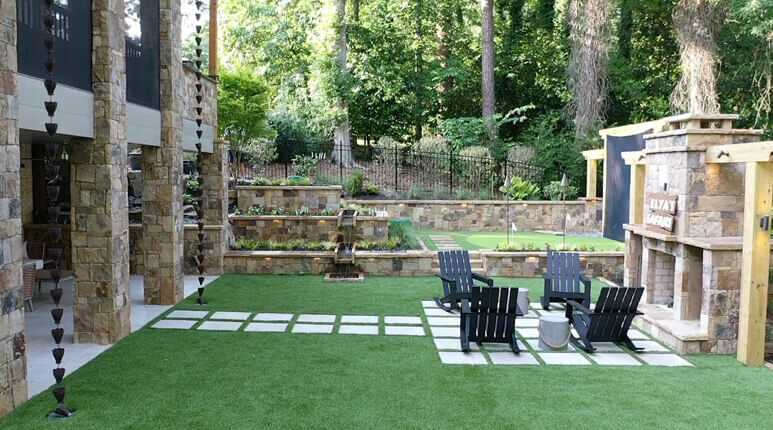
At Outdoor Makeovers, we offer various landscape services such as retaining walls, design consultation, landscape, hardscape, storm door installation, and more. We’ll help you spruce up your outdoor space, making your project successful. Reach out to us and learn more about how you can change the look of your landscape area!

 Screened-in Porch Benefits for Outdoor Living Experience
 Landscape Preparation For Spring
 Preparing for Winter: 10 Tips for Winterizing Your Landscape
LET'S BE SOCIAL: