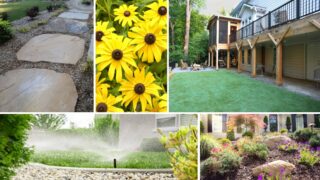
Irrigation System Installation: A Step-By-Step Guide
A proper irrigation system is important in keeping your lawn healthy and vibrant. However, irrigation system installation may take time and effort. Manually watering plants is labor-expensive and requires substantial time and devotion. Still, it also increases the danger of inconsistent hydration, resulting in inefficient water consumption and potential plant health problems. Over- or under-watering can cause stress in plants, making them more prone to illnesses and limiting their growth and flowering potential.
This article tackles these issues by providing a simple method for installing a lawn irrigation system. It will also teach you about different types of irrigation systems and how to set up an irrigation system that automates watering, maintains consistent soil moisture, and encourages healthy plant growth.
Choosing the Right Irrigation System
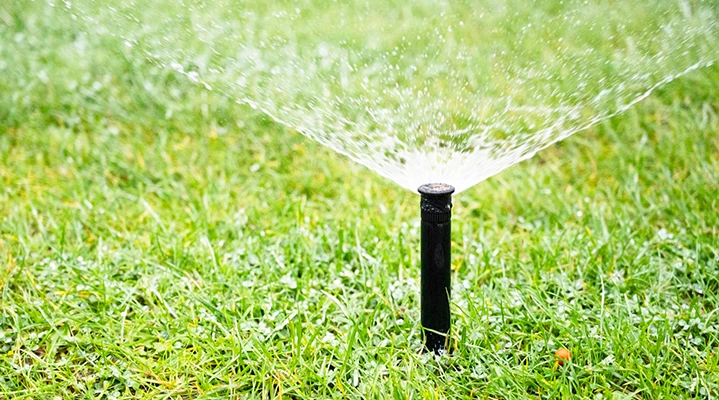
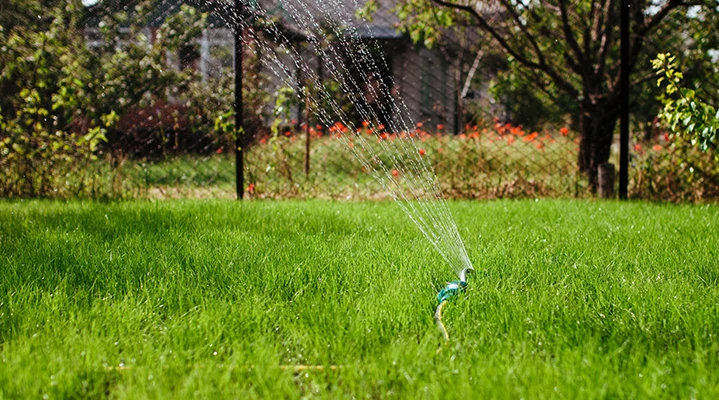
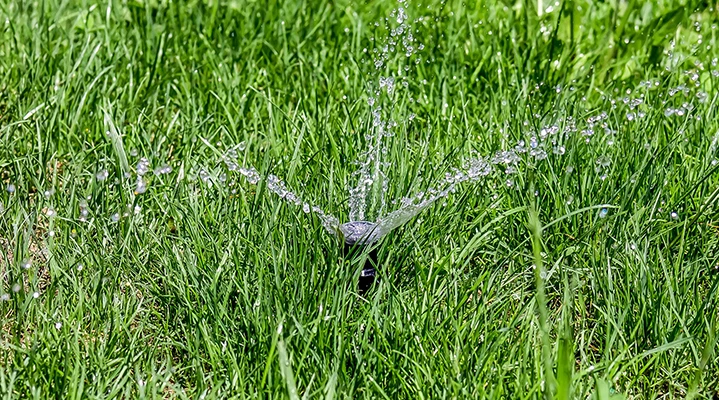
Sprinkler systems that are installed in-ground
An in-ground lawn sprinkler system consists of a network of pipes placed beneath the surface, with sprinkler heads that emerge from the earth to water the garden. The sprinklers are activated on a predetermined timetable, often regulated by a timer, to ensure consistent and even coverage. These systems are ideal for efficiently covering broad, open lawn areas.
Ground-level sprinklers can provide consistent, uniform irrigation over a large area. However, they can be costly to install and may cause waste water if not properly regulated, particularly in windy weather or on uneven terrain where runoff and evaporation are possible.
Soaker or Sprinkler Hose Systems
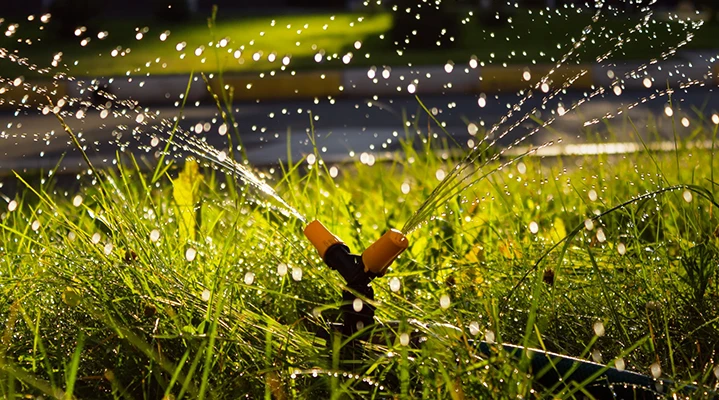
Soaker hoses are porous hoses that allow water to seep through them, delivering moisture straight to the soil and roots of plants. On the other hand, Sprinkler hoses contain small holes on the top that direct water upward and provide a gentle spray. These systems are perfect for watering garden beds, plant rows, and hedges. They are relatively simple to install and can be placed on the garden surface or buried beneath mulch. The primary benefit is increased water efficiency, which reduces waste and evaporation. However, soaker and sprinkler hoses may not give uniform coverage as in-ground systems and can be prone to clogging or damage from garden activities and UV exposure.
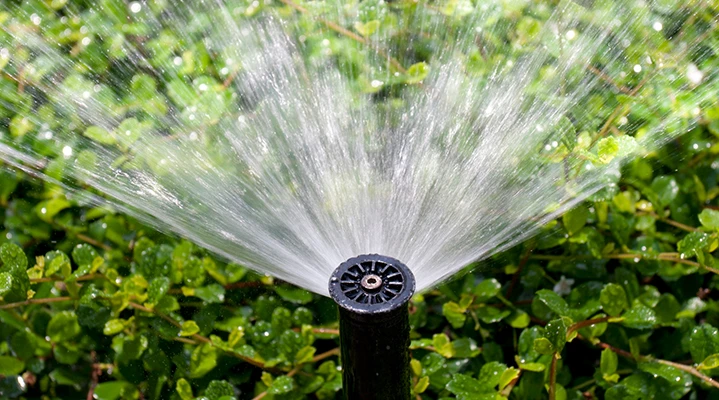
Drip Irrigation Systems
A drip irrigation system uses a network of tubing and emitters to supply water directly to the base of each plant. This technology is highly effective in conserving water by reducing runoff and evaporation. Drip systems are ideal for gardens with mixed plantings, such as vegetable beds, perennial borders, and containers requiring precision watering. The fundamental benefit of a drip irrigation system is that it directs water to the plant’s roots, promoting healthier growth and reducing water waste. The constraint is the intricacy of the initial setup and the need for frequent maintenance to prevent emitter blockage and adjust to the plants’ growing requirements.
Step-by-Step Guide for Irrigation System Installation
Step 1: As your layout indicates, place a stake or flag at every sprinkler location. Use string to show where the pipe will run.
STOP! Before you start digging, make sure you know where all gas, power, and cable TV lines are. Be sure to call your utility companies if you need help.
Step 2:
- Dig trenches following the string. Mark the sprinkler locations with flags or stakes. Typical trench depths range from 6 to 12 inches.
- To run the pipe under existing walkways, you can “drill” it using water pressure. Get a piece of PVC long enough to go under the walk, glue a slip-female thread adapter to one end, and attach a hose. On the other end, glue a slip-male thread adapter and connect a Jet Spray Nozzle (available at most home improvement and home & garden retailers).
- Dig your trench up to the walk on both sides. Now turn on the water and work your way through. It may take a while and get muddy, so turn off the water occasionally to let it soak in.
- To make trenching easier, ask your local tool rental supplier about a “power trencher.” If you use a poly pipe, ask about a pipe-pulling machine that will bury the pipe without digging up your lawn. Be sure to put enough space between valves on the manifold so they can be removed in case they ever need replacement.
Step 3: Hook up your water supply. Did you check with your Rain Bird Dealer to determine which connections are right for your local codes and conditions?
Step 4: Assemble your valve manifold. Connect the back-flow preventer if required.
- PVC pipe is available in a variety of diameters and wall thicknesses. A larger diameter (3/4″, 1″, or 1 1/4″), heavier gauge (schedule 40) pipe will improve your system’s operation and durability.
- Polypipe is primarily used in colder climates. It is more flexible and less likely to be damaged by freezing. Rain Bird does not recommend using polypipe as the main connecting pipe.
- PVC cement is applied to the inside of the fitting and the outside of the pipe. Quickly insert the pipe, giving it a 1/4 turn to distribute the cement, and hold it for a few seconds. A primer is available to prepare the pipe and fittings for gluing. Read the manufacturer’s instructions before using PVC cement.
- Poly is assembled by sliding a clamp over the pipe, inserting the fitting all the way, bringing the clamp into position, and tightening.
Step 5: Place pipe lengths along the string after laying out the suitable sprinklers and connectors at each stake.Note: Using swing joints or EZ pipes makes positioning sprinklers easier.
Step 6: Start assembling, moving from one sprinkler location to the next. Wait to connect the sprinkler until everything is constructed so that you can flush the system with water to clear out any dirt that gets in the pipes.
Step 7:
- Manually flush the system.
- Turn on the water at the “shut-off” to supply your system, then operate the valves manually to flush the system. Open each valve to flush the pipe with water, then close.
- Refer to the valve instructions for manual operation. You should do this with each valve.
Step 8: Attach the sprinklers after flushing the system with water.
Step 9:
- Wire the valves to the timer following the instructions that come with your timer. Remember to write down which timer “station” runs which zone and keep these notes near your timer.
- Now test each zone using the timer to control the valves. Make any adjustments to the distance and directions of the sprinklers.
- When everything is working right, bury the pipe.
This is it! This guide will help you. If you are looking for a professional near you in Atlanta to get professional and advanced irrigation system installation services, Outdoor Makeover and Living Spaces is right here. Our experts modify the water flow depending on the different needs of trees, grass, shrubs, or flower species. Stop wasting your time and money on damaged and outdated irrigation systems. Get in touch with one of our professionals for assistance.